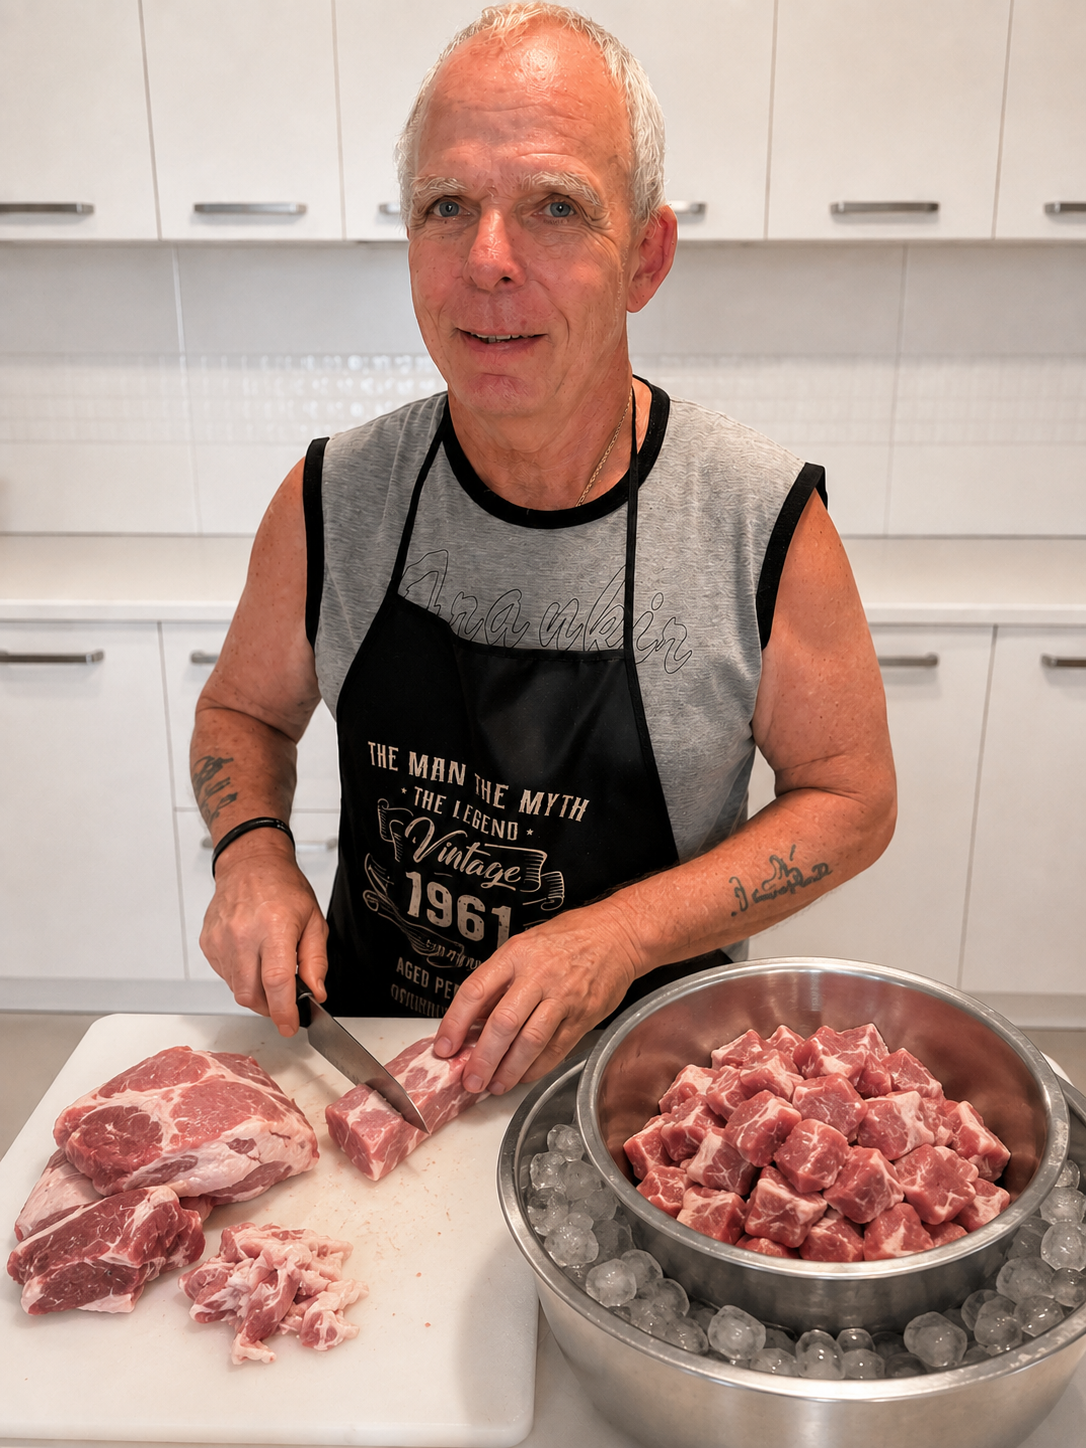
One of the most overlooked steps in homemade sausage making happens before the meat ever reaches the grinder. Taking a few extra minutes to prepare your meat properly will make the entire process easier and help produce a better finished sausage.
Whether you're making a traditional bratwurst, a smoked sausage or a modern chicken recipe, careful preparation lays the foundation for everything that follows.
Choose the Right Cuts
By now you've already selected the appropriate cuts of meat and fat. Before you begin trimming, take a moment to inspect each piece. Look for any glands, bruising, excessive sinew or damaged areas that should be removed.
Trim Only What Needs Removing
Many beginners remove far too much fat when trimming meat. Remember that fat is an essential part of most sausage recipes and contributes to both flavour and texture.
Instead, concentrate on removing tough connective tissue, large pieces of silver skin, bruised meat and any glands that may affect the flavour of the finished sausage.
Cut the Meat into Even Pieces
Once trimmed, cut both the lean meat and the fat into pieces that comfortably fit your meat grinder.
Keeping the pieces roughly the same size helps the grinder work more efficiently and produces a more consistent grind.
Weigh Everything Carefully
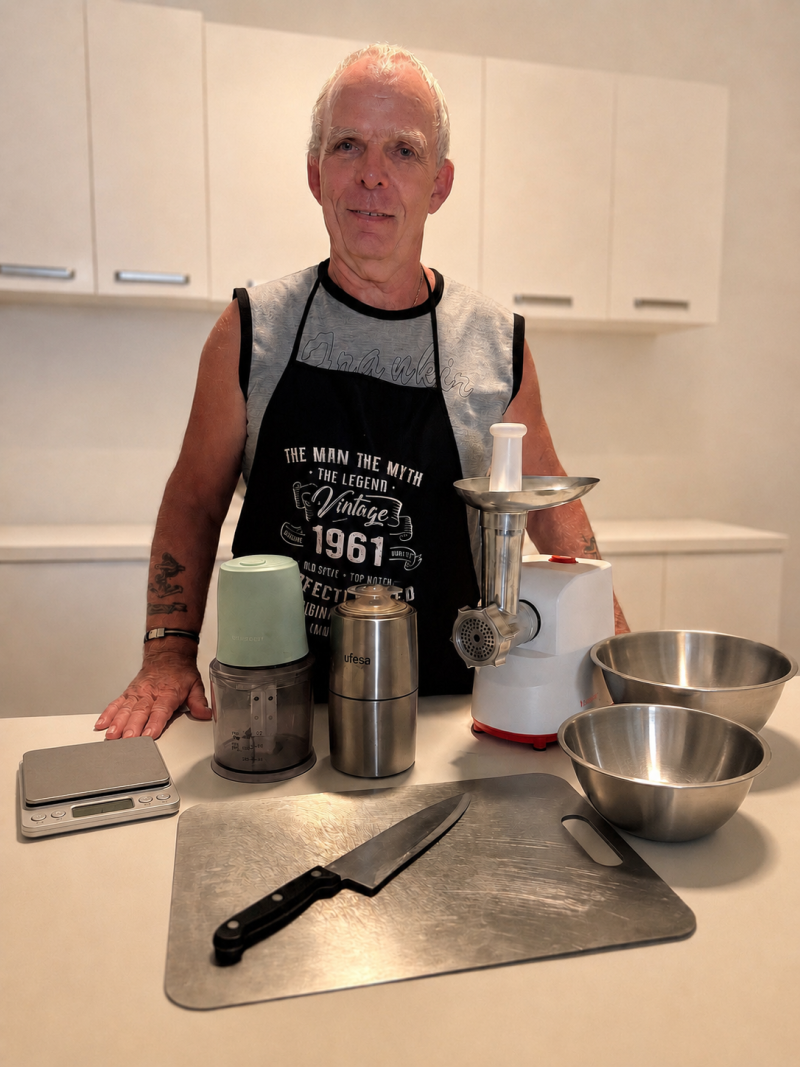
Accurate weighing is one of the easiest ways to improve your sausage making. Weigh the lean meat and fat separately if your recipe specifies individual quantities.
From this point onward, all seasoning should be measured according to the total weight of the meat mixture.
When to Add the Seasonings
Some recipes benefit from marinating the meat overnight with ingredients such as garlic, wine or spice pastes, while others are seasoned only after grinding.
Always follow the method given in the recipe. There is no single correct approach, and different techniques produce different results.
The Final Step Before Grinding
Once the meat has been trimmed, cut into grinder-sized pieces and accurately weighed, it's time for one final preparation step.
Place the meat and fat in the freezer for approximately 1 to 2 hours. The goal is not to freeze the meat solid, but to firm it up thoroughly before grinding.
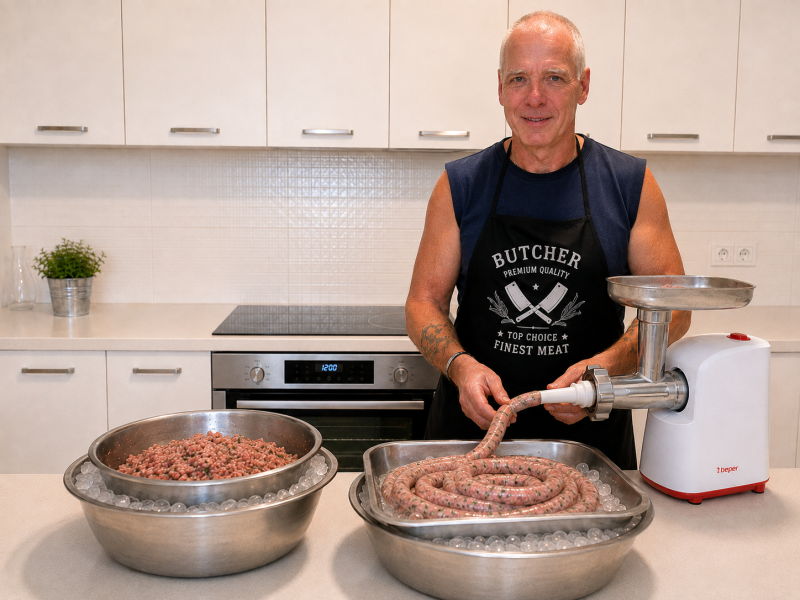
While the meat is chilling, use the time wisely. Assemble the meat grinder, prepare and weigh your spices, soak your casings if required and organise your workspace. If possible, place the grinder plates, knife and auger in the freezer as well.
By the time the meat is ready, everything else should be prepared. This allows you to work efficiently, keeps the meat as cold as possible and produces a cleaner grind with a better final texture.
Ready for Grinding
Once the meat has been trimmed, cut into suitable pieces, weighed and thoroughly chilled, it's ready for the next stage—grinding.
Good preparation makes grinding easier, protects the texture of the meat and helps produce consistently excellent homemade sausages.
Reference: Preparing Your Meat
| Step | Purpose | Tip |
|---|---|---|
| Inspect | Check the quality of the meat. | Remove bruising, glands and damaged areas. |
| Trim | Remove unwanted tissue. | Keep good-quality fat. |
| Cube | Prepare for grinding. | Cut evenly sized pieces. |
| Weigh | Ensure recipe accuracy. | Use digital kitchen scales. |
| Season (if required) | Develop flavour. | Some recipes benefit from overnight marinating. |
| Chill | Improve grinding and texture. | Keep the meat very cold, but not frozen solid. |
Dieter's Tip
I always prepare everything before taking the meat out of the refrigerator. The grinder is assembled, spices are weighed, bowls are chilled and the workspace is ready. This allows me to work quickly while keeping the meat as cold as possible.