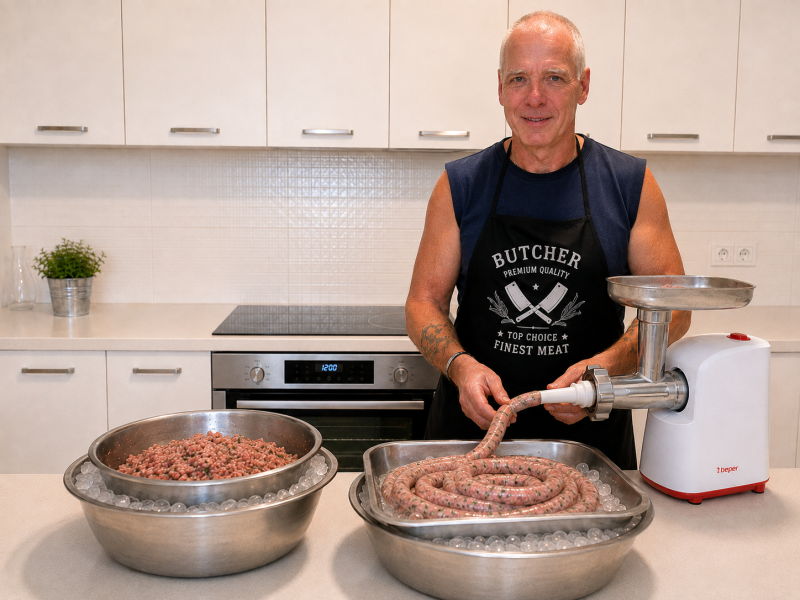
You've finished stuffing your sausages, everything looks good—and then you notice several small pockets of air trapped beneath the casing.
Don't panic.
Air pockets are one of the most common little problems in homemade sausage making, particularly when you're still learning how to use a stuffer.
Even experienced sausage makers occasionally get them.
The good news is that most air pockets are easy to deal with, and with a little practice you can prevent many of them from forming in the first place.
Why Do Air Pockets Form?
Air pockets usually enter the sausage during stuffing.
When sausage mixture is loaded into the cylinder or bowl of a stuffer, small spaces can remain between portions of meat. As the mixture is pushed towards the stuffing tube, that trapped air can travel into the casing.
Air can also enter when:
- the stuffer isn't packed firmly enough before stuffing begins;
- the stuffing tube initially contains air;
- the sausage mixture is added to the stuffer in loose spoonfuls;
- stuffing is repeatedly stopped and restarted;
- the casing isn't controlled consistently as it leaves the stuffing tube;
- or the mixture itself contains larger trapped air pockets after mixing.
A few small bubbles aren't unusual. Large pockets, however, should normally be removed.
Prevent Air Before You Start Stuffing
The easiest air pocket to remove is the one that never enters the casing.
When loading your sausage stuffer, don't simply drop loose handfuls of sausage mixture into the cylinder.
Add the mixture in portions and press each portion down firmly before adding the next.
This helps push out air trapped between the layers.
Some sausage makers form the mixture into compact balls and throw them firmly into the stuffer cylinder. Others simply press each addition down thoroughly by hand or with a suitable utensil.
The exact method isn't particularly important. The objective is the same: load the stuffer as densely as practical without large spaces of trapped air.
Remove Air from the Stuffing Tube
There's another pocket of air waiting for you before the first sausage has even been stuffed: the stuffing tube itself.
After loading the stuffer, operate it slowly until the sausage mixture reaches the end of the stuffing tube.
Only then should you begin filling the casing.
This prevents the air initially occupying the tube from being pushed straight into the first sausage.
Don't Tie the Casing Too Early
When beginning a new length of casing, leave the end open while the first little amount of sausage mixture enters.
This allows remaining air to escape rather than becoming trapped at the end.
Once the mixture has reached the end of the casing, squeeze out any remaining air and tie the knot.
Then continue stuffing normally.
Keep a Steady Stuffing Rhythm
Smooth, continuous stuffing generally produces better results than constantly stopping and starting.
Use one hand to control how quickly the casing leaves the stuffing tube while the other operates the stuffer if you're working alone.
The casing should fill evenly without becoming excessively tight.
If you're using a manual stuffer and find this difficult at first, having another person operate the crank while you control the casing can make learning considerably easier.
How to Recognise an Air Pocket
Most trapped air is easy to see.
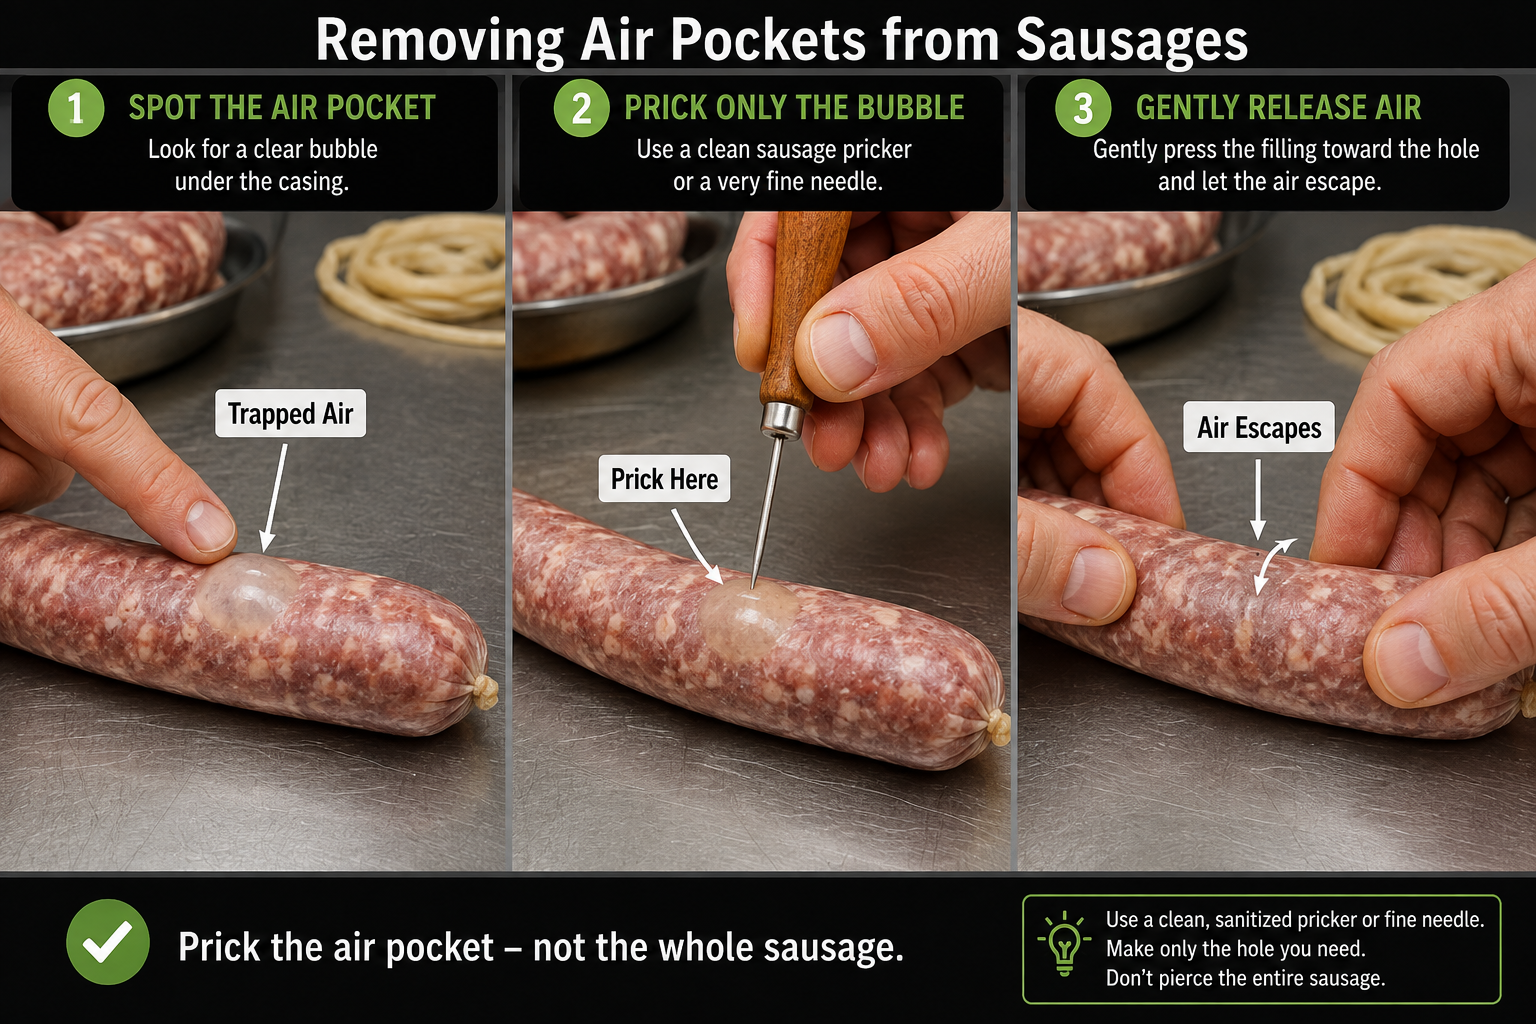
You'll notice a clear or pale bubble beneath the casing where the meat hasn't completely filled the space.
Sometimes you can also feel the difference when gently running your fingers along the sausage.
Small surface bubbles aren't necessarily a disaster, but larger visible pockets should be released.
Use a Sausage Pricker or Fine Needle
The traditional solution is very simple.
Use a clean, sanitised sausage pricker or a very fine needle and make a tiny puncture directly over the air pocket.
Then gently massage or press the surrounding sausage mixture towards the puncture.
The trapped air should escape through the small hole while the casing settles back against the sausage mixture.
You don't need to squeeze aggressively. Gentle pressure is normally sufficient.
Prick the Air Pocket, Not the Whole Sausage
This is an important distinction.
We're trying to release trapped air—not turn the casing into a colander.
There is usually no reason to make dozens of holes along every sausage simply because you've seen somebody routinely pricking sausages.
Each unnecessary hole damages the casing and creates another potential route for moisture and fat to escape during cooking.
If you can see an air pocket, prick it. If there isn't one, leave the casing alone.
Massage the Filling into the Empty Space
After releasing the air, gently redistribute the sausage mixture around the puncture.
This is particularly easy before the individual links have been fully tightened.
Don't worry if the sausage looks slightly uneven immediately afterwards. Linking and resting often allow the filling to settle further inside the casing.
Deal with Air Before Cooking
Inspect your sausages after stuffing and again while forming the links.
This is the best time to deal with obvious air pockets.
Once the sausages have been cooked, the proteins set and the structure becomes fixed. An air pocket that was trapped beneath the casing will no longer be as easy to correct.
Natural Casings Are Quite Forgiving
Natural hog and sheep casings are remarkably flexible.
A tiny puncture from a fine sausage pricker normally doesn't cause a problem when made carefully.
What causes trouble is using something unnecessarily large or repeatedly puncturing the same area.
A fine, sharp point produces a much cleaner hole than a thick or blunt needle.
Don't Confuse Air Pockets with Loose Stuffing
An underfilled sausage and an air pocket aren't quite the same problem.
If the entire casing feels loose and wrinkled, the sausage may simply have been stuffed too lightly.
Pricking it won't solve that.
Before linking, you can often gently redistribute the sausage mixture along the casing to improve the fill.
With experience, you'll learn how firmly each type of casing can be filled while still leaving enough flexibility to form links without bursting it.
Don't Overfill to Avoid Air
Trying to prevent air pockets by stuffing the casing as tightly as physically possible creates another problem.
Overfilled casings are much more likely to burst during linking or cooking.
The goal is an evenly filled casing, not one stretched to its absolute limit.
Good stuffer loading and steady casing control prevent air far more effectively than excessive stuffing pressure.
A Few Bubbles Don't Mean You've Failed
Especially with your first few batches, don't become obsessed with producing a perfectly air-free chain of sausages.
If you have one or two small bubbles, release them and continue.
You'll naturally become better at loading the stuffer, controlling the casing and maintaining a steady stuffing rhythm with every batch you make.
Before long, you'll probably find yourself reaching for the sausage pricker much less often.
Prevent the air where you can, release obvious pockets where necessary, and don't unnecessarily puncture a perfectly good casing.
Reference: Air Pocket Troubleshooting
| Problem | Likely Cause | What to Do |
|---|---|---|
| Air in first sausage | Air remained inside the stuffing tube. | Advance the mixture to the end of the tube before filling the casing. |
| Frequent large air pockets | Stuffer loaded with air spaces between portions of meat. | Pack the mixture firmly into the stuffer while loading. |
| Individual visible bubble | Small amount of air entered during stuffing. | Prick directly over the bubble and gently press the air out. |
| Loose, wrinkled casing | Casing was underfilled rather than containing an isolated air pocket. | Redistribute the filling before linking where possible. |
| Casings burst while linking | Possibly overfilled in an attempt to eliminate empty spaces. | Stuff slightly less firmly and leave enough flexibility for linking. |
Dieter's Tip
Don't automatically prick every sausage after stuffing. I only prick where I can actually see trapped air. Use a clean, sanitised sausage pricker or very fine needle, make one small puncture over the pocket and gently massage the filling towards it. Usually that's all it takes.