Perhaps you've been looking through the recipes on this website and thinking:
I'd really like to try this—but I'm not buying a meat grinder and sausage stuffer before I even know whether I'll enjoy making sausages.
That's perfectly reasonable.
And you don't have to.
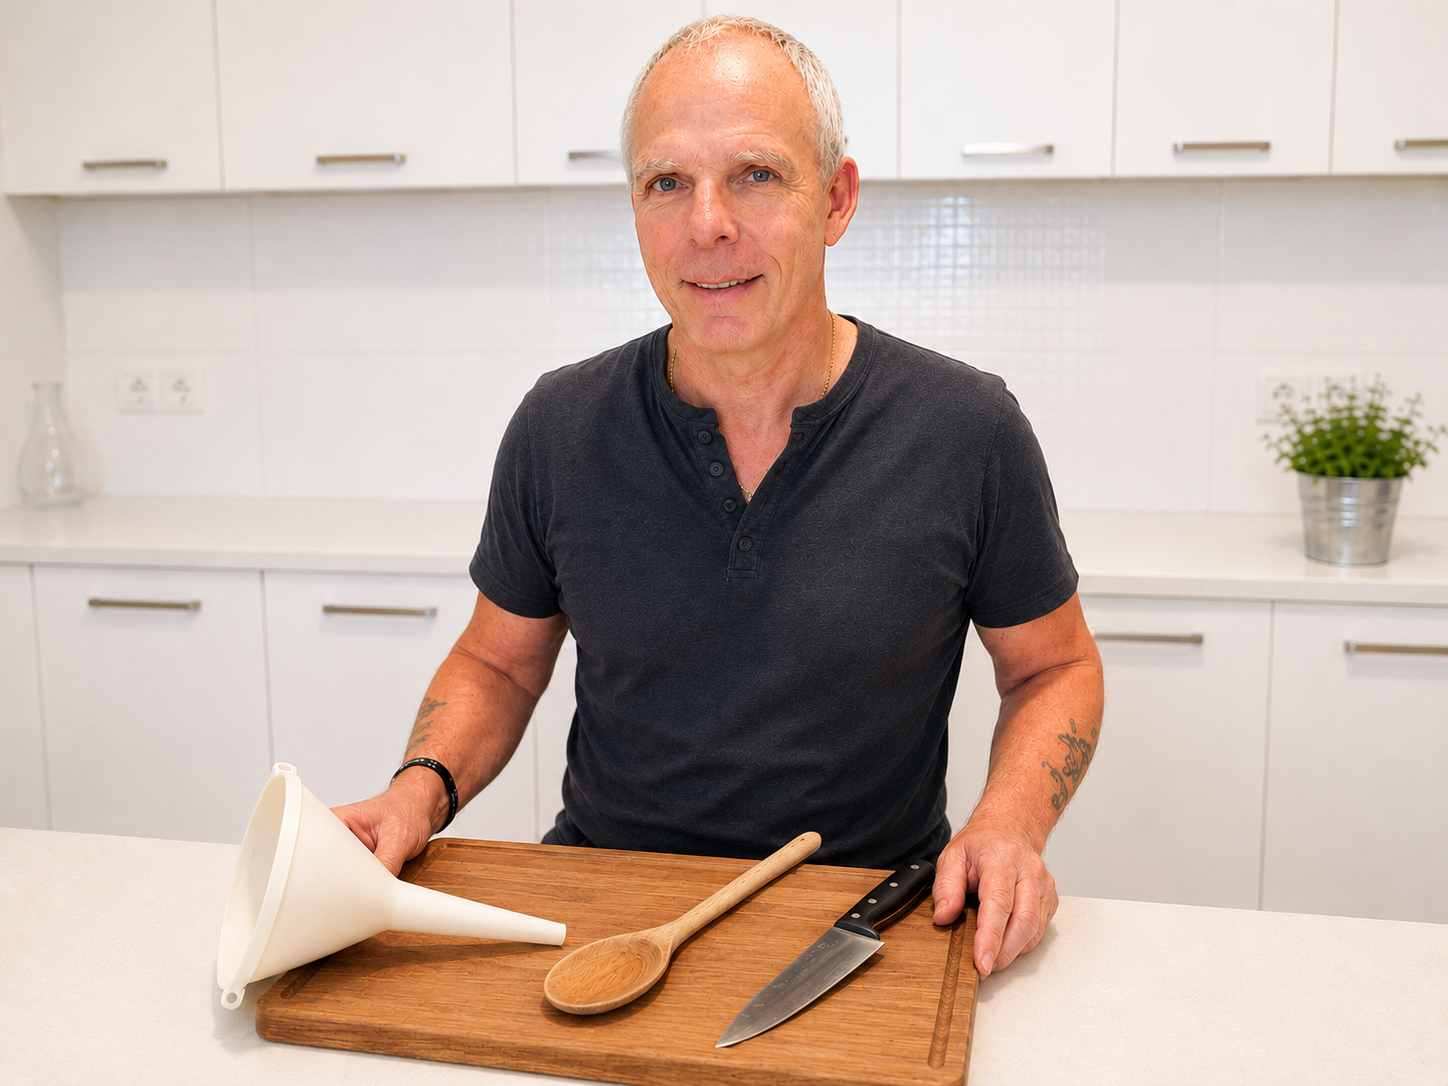
If you have a kitchen funnel and a wooden spoon, you're surprisingly close to having enough equipment to make your first batch of sausages.
I know because that's exactly how I made mine.
Let Your Butcher Do the Grinding
For your first attempt, there's absolutely nothing wrong with asking your butcher for a little help.
Choose a simple fresh sausage recipe and take the meat and fat requirements with you. Ask your butcher to grind them for you using an appropriate plate for the recipe.
If your butcher sells natural casings, ask for approximately 2–3 metres of hog casing as well.
That's your grinding and casing problem solved before you've bought a single piece of sausage-making equipment.
Start Small
Your first sausage-making session isn't the time for a 5 kg production run.
Start with around 500 g to 1 kg of sausage mixture.
That's enough to learn the basic process, make several sausages and discover whether this is something you enjoy without turning your kitchen into a small production facility.
If something doesn't go perfectly—and on your first attempt it probably won't—you haven't wasted a large quantity of ingredients either.
Choose a Simple Recipe
For this experiment, avoid fine emulsified sausages, fermented sausages or anything requiring specialised curing or smoking procedures.
Choose a straightforward fresh sausage with meat, fat and seasonings that can simply be mixed, stuffed and cooked according to the recipe.
A simple fresh bratwurst or BBQ sausage is an excellent place to begin.
Get Everything Cold
Once you get home from the butcher, refrigerate the meat immediately.
Before mixing, you want the meat and fat thoroughly chilled and very cold without being frozen solid.
If necessary, place the ground meat in the freezer briefly to bring the temperature down, but keep an eye on it. Ground meat chills much faster than the larger pieces we normally place in the freezer before grinding ourselves.
While it's chilling, prepare and accurately weigh all your seasonings and any other ingredients required by the recipe.
Mix According to the Recipe
Add your salt, spices and other ingredients exactly as specified.
Mix thoroughly until the sausage mixture develops the texture described in the recipe—normally becoming noticeably sticky and cohesive as the protein bind develops.
Keep the mixture cold throughout.
If it begins warming while you're working, put it back into the refrigerator rather than rushing through the next stage.
Now for the Improvised Sausage Stuffer
This is where things become slightly more adventurous.
Find a clean kitchen funnel with a spout narrow enough for your prepared casing to slide over it.
Feed the casing carefully onto the funnel spout, gathering most of it there just as you would on the tube of a proper sausage stuffer.
Leave a short length hanging from the end and tie a knot, leaving a little room for air to escape and the filling to settle.
Now take a small amount of sausage mixture and place it into the funnel.
Using the rounded end of a clean wooden spoon handle, gently push the mixture down through the funnel and into the casing.
Then add another small amount.
And another.
It's slow.
It's slightly awkward.
And yes—it works.
Don't Try to Make Them Perfect
Your job on the first attempt isn't to produce sausages that look as though they came from a professional butcher's display.
Concentrate on filling the casing reasonably evenly without packing it too tightly.
A casing that is slightly underfilled is much easier to deal with than one that bursts because you've forced too much mixture into it.
You also need a little flexibility in the casing for linking the sausages afterwards.
What About Air Pockets?
With an improvised stuffing method, you'll almost certainly trap a few pockets of air.
Don't worry.
After stuffing and linking, visible air pockets can be carefully released using a clean, sanitised sausage pricker or very fine needle.
Make only the small punctures you actually need. You're releasing trapped air, not perforating the entire casing.
Link Your Sausages
Once the casing is filled, tie off the remaining end and form your links.
For a first batch, don't worry if every sausage isn't exactly the same length.
Pinch the casing where you want each link and twist successive links in alternating directions so that they don't unravel.
Your first chain may look a little uneven.
Mine certainly did.
Finish Them According to the Recipe
From here, follow the recipe you've chosen.
That may mean resting the sausages in the refrigerator before cooking, grilling them, gently poaching them first or using another method appropriate to that particular sausage.
Don't change the finishing method simply because you've used an improvised stuffing technique. The sausage itself should still be prepared and cooked according to its recipe.
Then Comes the Best Part
Cook your sausages and sit down to taste what you've made.
Will they look exactly like the perfectly uniform sausages in the supermarket or butcher's display?
Probably not.
But that's hardly the point.
You selected the meat. You weighed the seasoning. You mixed it. You stuffed it. You know exactly what's inside it.
And when you bite into your first homemade sausage and realise that you produced it with little more than help from your butcher, a funnel and a wooden spoon, something rather interesting tends to happen:
You start thinking about which sausage you're going to make next.
Buy Equipment When You Know You Want It
If that first batch convinces you that sausage making is something you'd like to continue, then start thinking about equipment.
A small grinder makes you independent of the butcher and gives you control over the grind. A sausage stuffer makes filling casings dramatically quicker and easier.
But now you're buying them because you know you'll use them—not because somebody told you that you need hundreds of euros worth of equipment before you're allowed to make your first sausage.
Start with what you have. Make a small batch. Learn from it. And most importantly, enjoy making it.
Dieter's Tip
Don't judge your first sausages by how straight or evenly sized they are. Mine were stuffed through an old plastic funnel with the handle of a wooden spoon, and they were far from perfect. What mattered was that after a night in the refrigerator we cooked them, tasted them and realised we had actually made our own sausages. The better equipment came later.